

My Ragnarok Online cosplay is underway, and this week I tackle the time consuming applique parts of the costume!
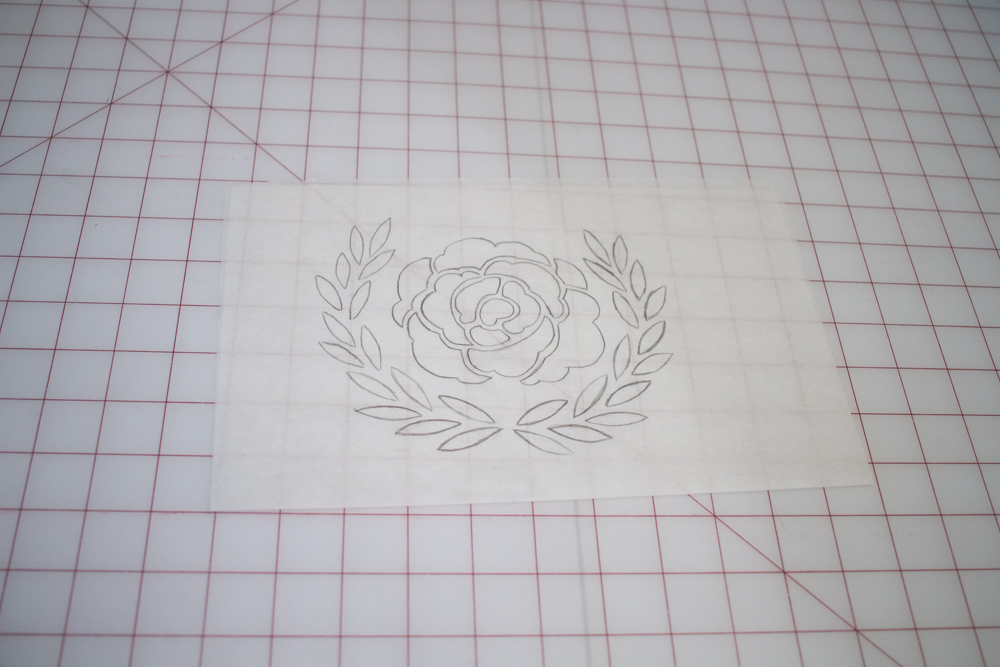
The first step is to draft out a pattern for the applique. I create a rose and laurel drawing based on the design visible on the reference I’m working from.
I photocopied the design a few times so I could use the copies as a template without destroying my original pattern.
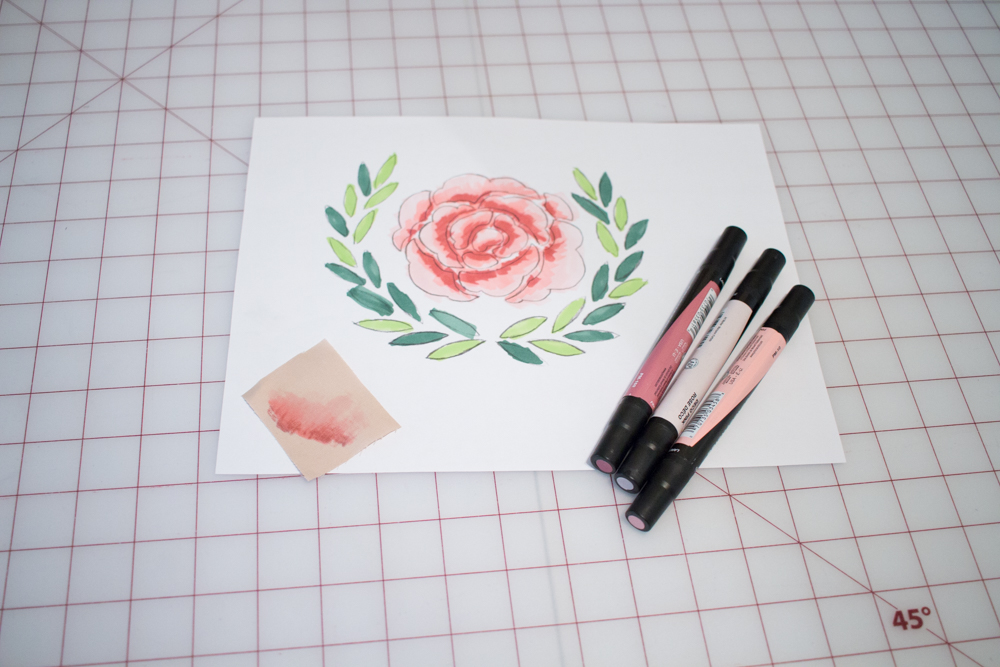
With Prismacolor markers, I roughed out a general idea of how I want the applique to look and tested the markers on my fabric.
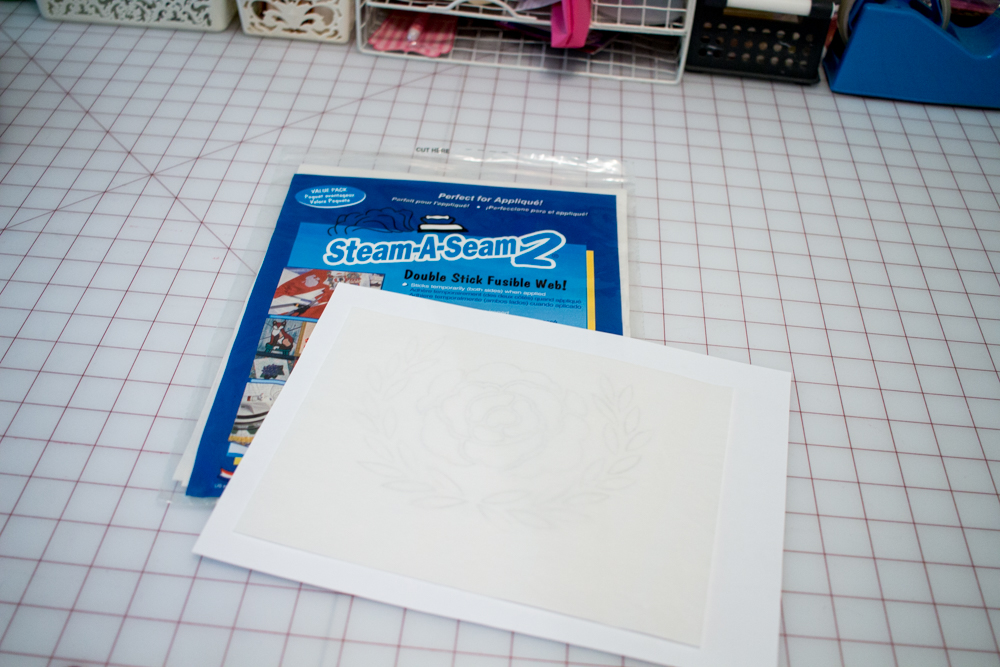
The next step is to transfer the design on to adhesive paper. I am using Steam-A-Seam2, which is my favorite type of fusible web adhesive paper, but you can use other brands and have the same results.
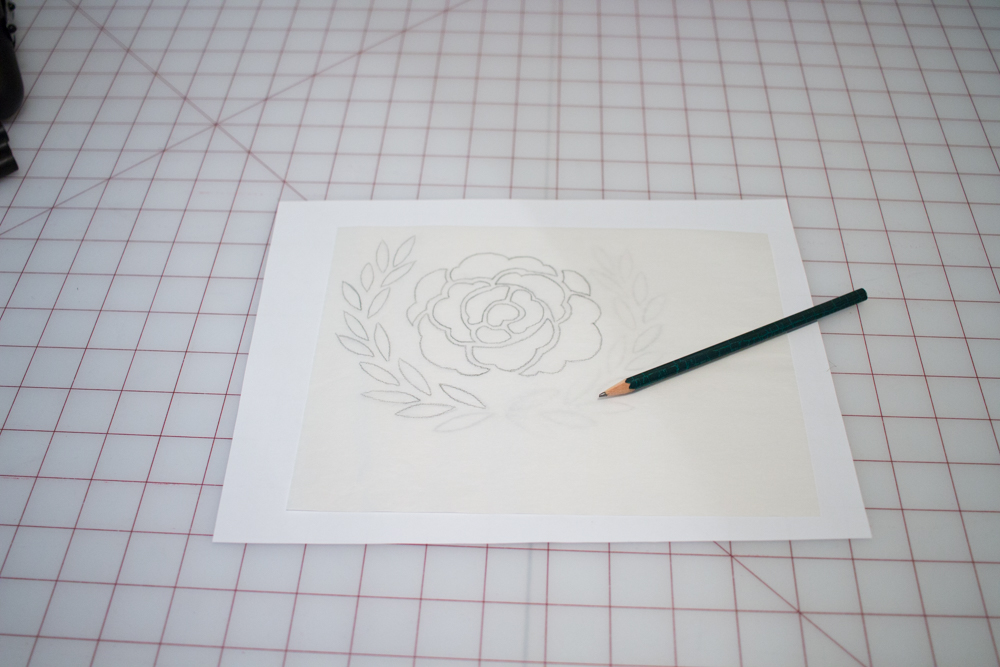
I trace the rose design on to the fusible paper on the side that the adhesive material sticks to. This will give me template to cut the fabric out with. Remember that the design will be mirrored when you cut it out.
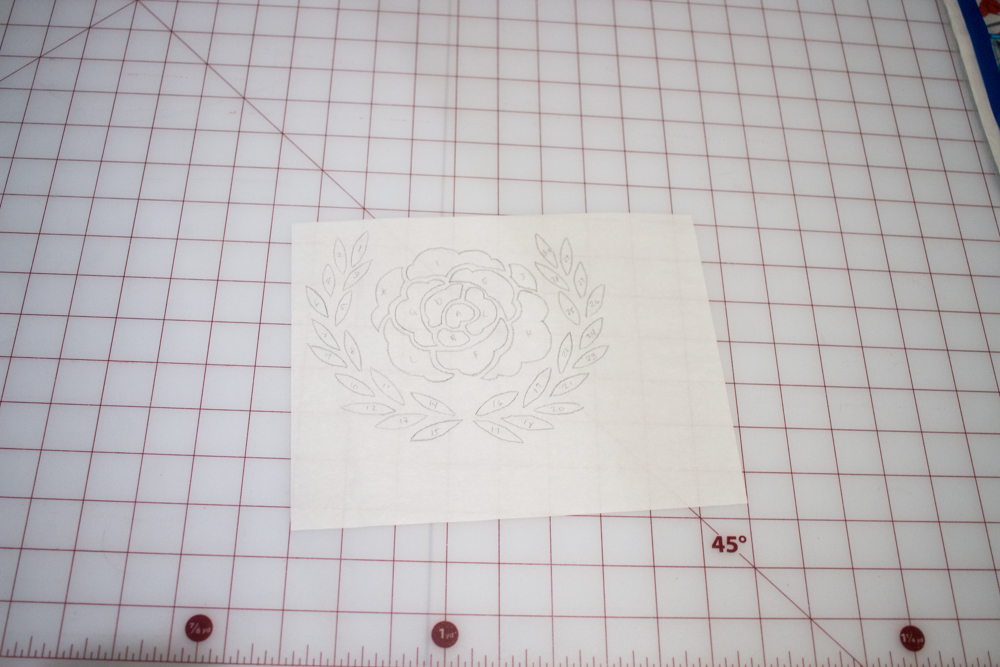
After tracing the design, I number each petal and leaf so I know where to place them once I cut them out.
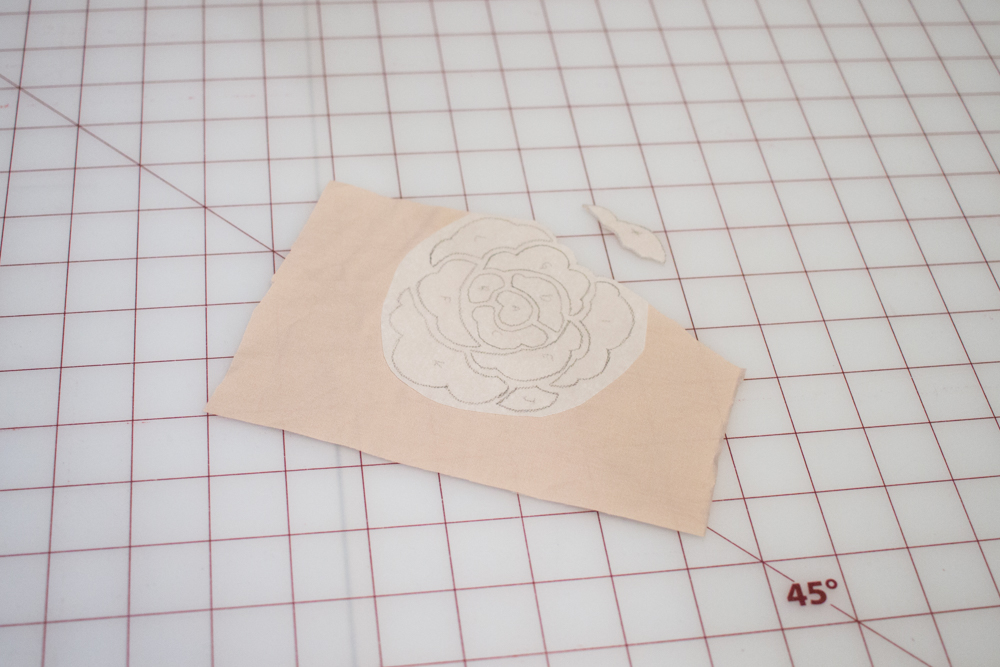
After sticking the adhesive side of the fusible paper to the back side of the fabric, I cut out the pieces carefully.
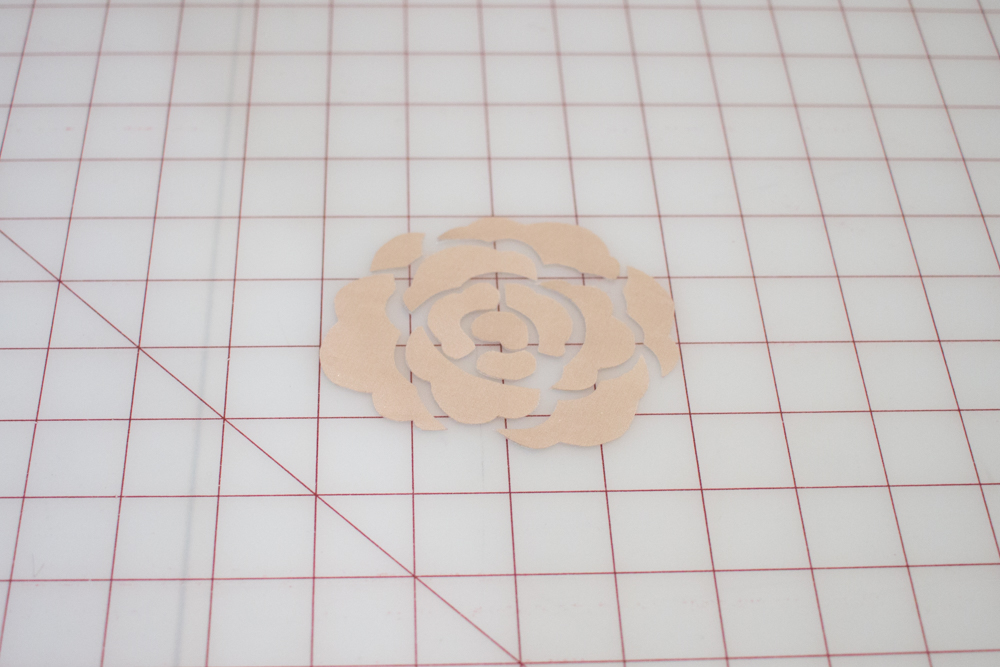
The result is the shape of the rose with the fusible paper attached to the back side, ready to be adhered to the cape.
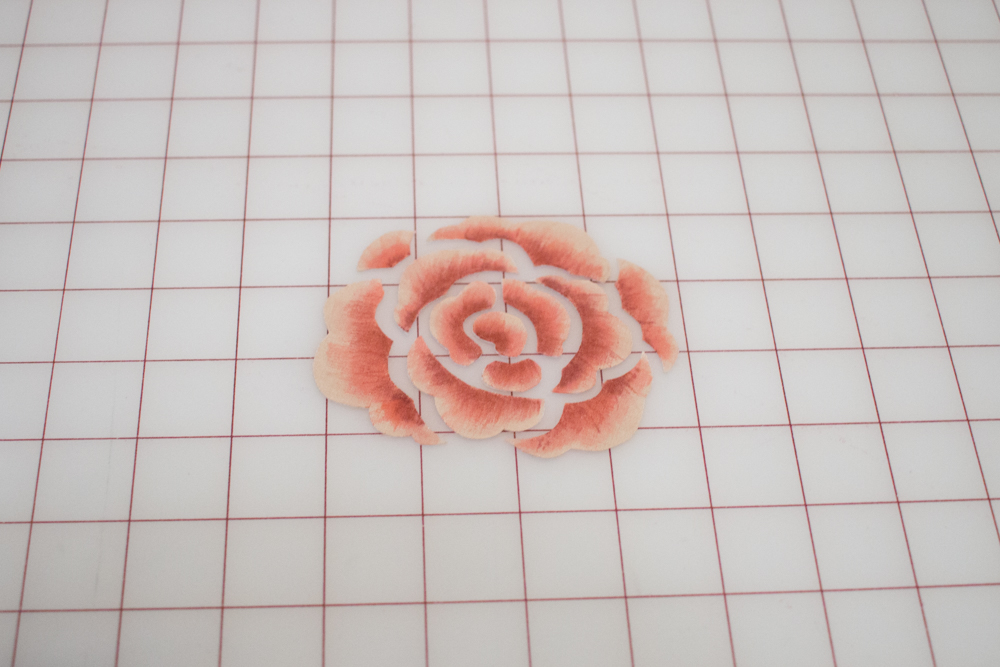
Using Prismacolor permanent markers, I color the petals of the rose individually. I tested the dye’s colorfastness on a scrap of fabric earlier to make sure the ink would not run if wet.
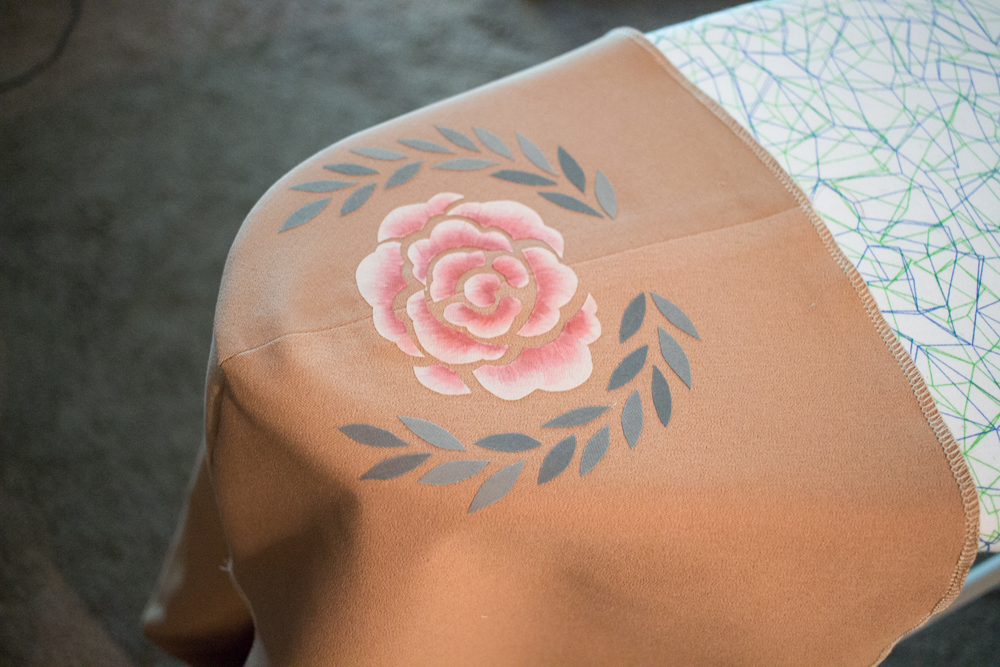
I stick the applique pieces to the cape and follow the ironing instructions to fix them in place for sewing. For the leaf part of the design I alternated using the front and back of my green material to give a little bit of color variation to the laurel.
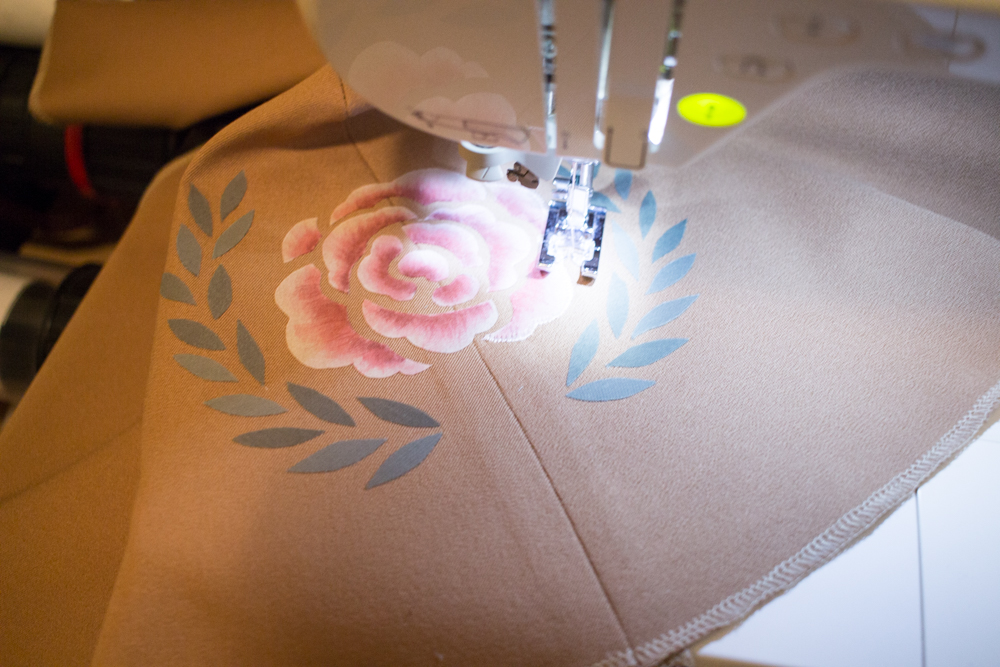
Using a small satin stitch (the Ziz-Zag stitch option) I tack down all the edges of the applique with matching embroidery thread. On the backside of the cape I have used a stick on stabilizer that will be torn away once the top stitching is done. This is the most time consuming part of the process and it improves the end result if you do not rush through this step.
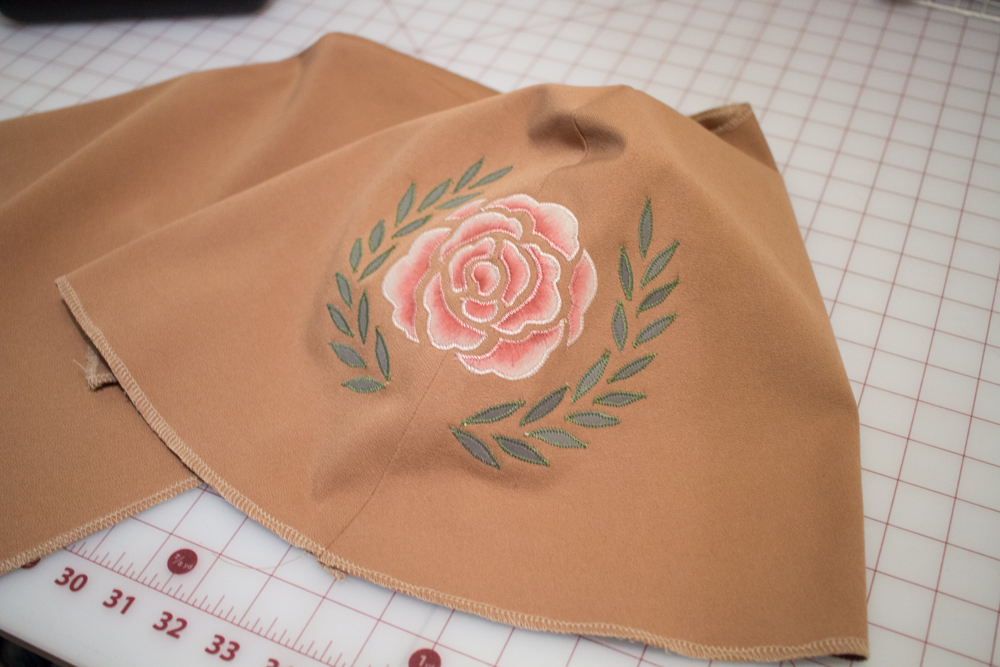
The end result is here. The process will be repeated on the other side. This took the better part of a day to complete, so give yourself time if you need to add applique to your costume.
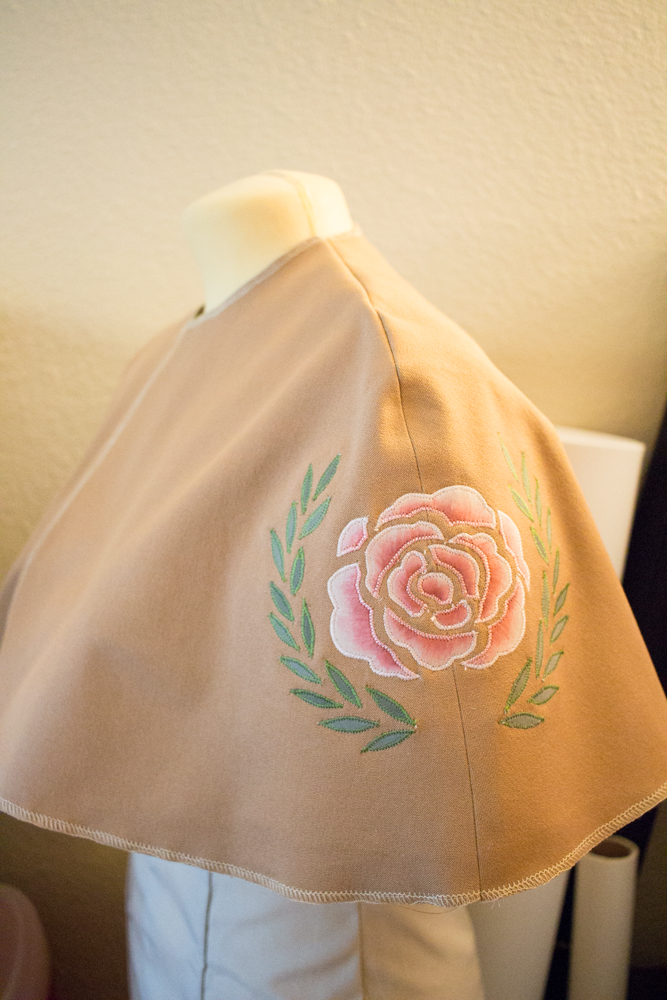
Here’s the design when draped over my dressform. I still need to add the collar, lining, and trim to the cape. It is time consuming, but fun adding in details to a costume!
TrackBack URL
http://blog.warpportal.com/maridah_blog/wp-trackback.php?p=448