
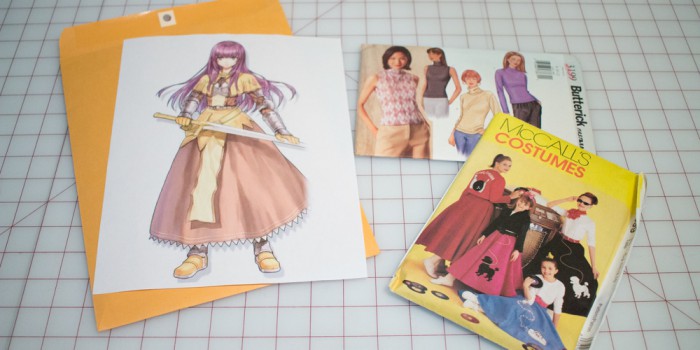
I’m making a Swordsman costume from Ragnarok Online! Want to make this cosplay too? Check out my work in progress photos here for some tips! This week I am working on patterning out the fabric parts of the costume and creating a mock-up to test it out.
For the sake of anyone who wants to create the same costume at home, I’ve decided to use some US domestic patterns as my basis for creating the dress pattern. I recommend using patterns that are marked with words like simple or beginner for pattern modification. They won’t have complicated shapes or seams which is better for applying your alterations to.
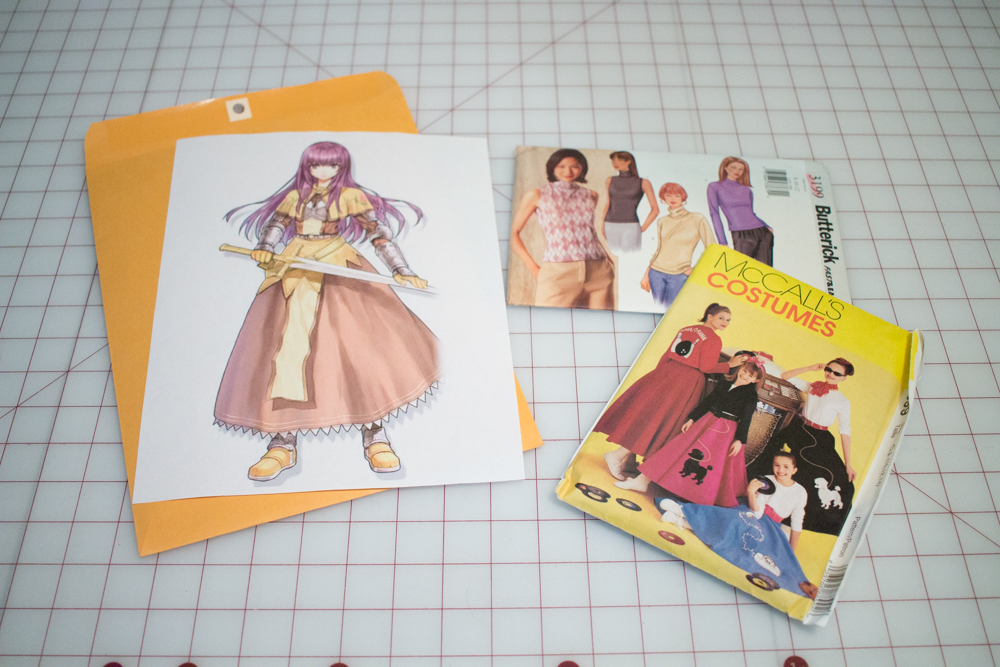
The patterns here are a poodle skirt, which is a large circle skirt, and a generic shirt pattern. You don’t need to use these exact patterns. There are many similar patterns out on the market that will also work. These are the ones I happened to have on hand at the time. The most important part is finding basic patterns that won’t need simplifying before modification.
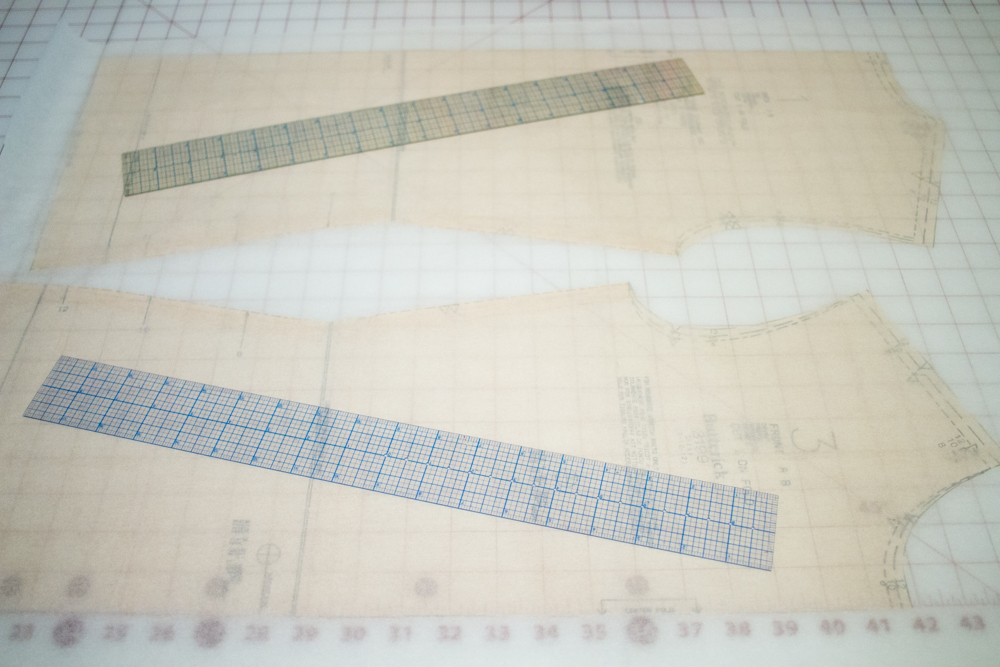
The first step I make when drafting through pattern alteration is transferring the preexisting pattern shape to vellum paper. I buy it in large rolls from an art store.
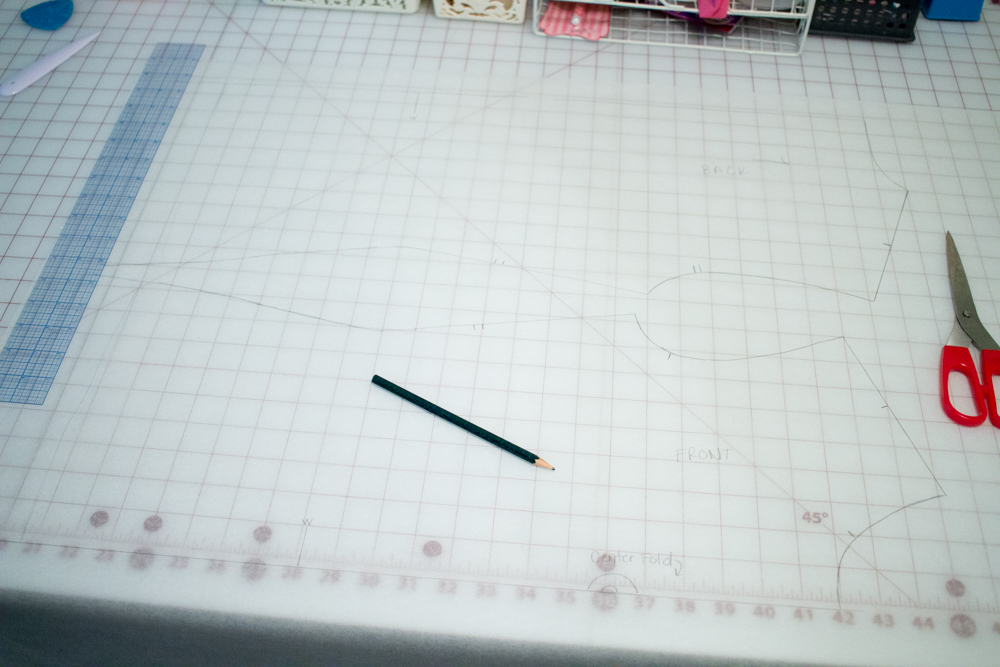
All my changes to the pattern will be made to my vellum instead of the original pattern itself. I recommend not destroying your starting pattern by modifying it directly in case you make a mistake or need to use it again on another project. I’ve been reusing some patterns for 15 years now, so if you treat them well, you can get a lot out of them.
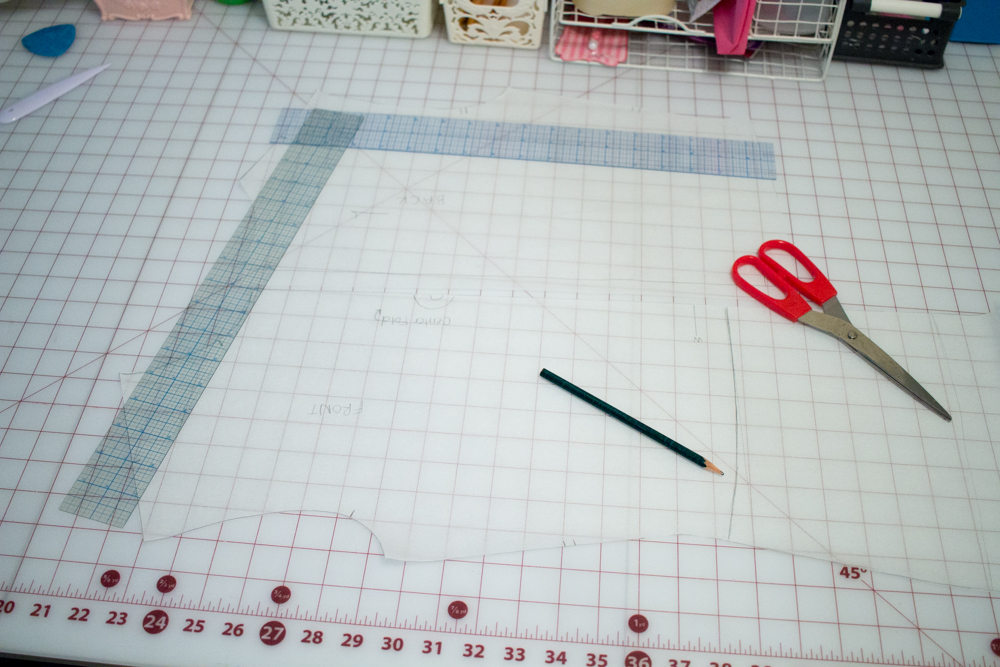
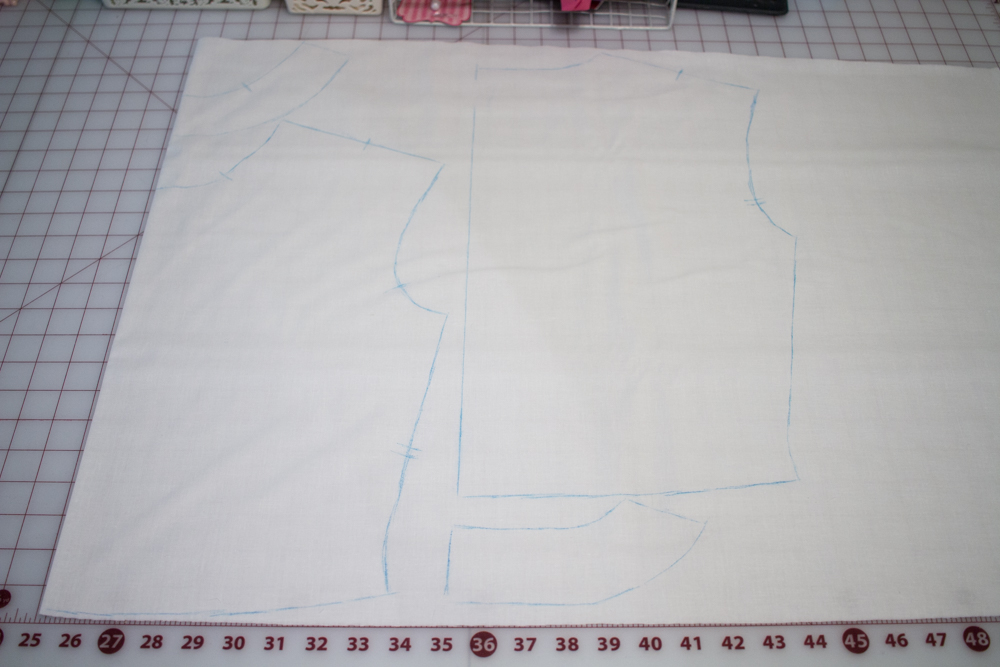
For this shirt pattern, there was no back seam since it was intended to be made out of jersey material that had stretch. While I will be using a material with some stretch on the costume, it needs a back seam added for a zipper. I’ve added that and made marks where I want to cut the pattern off to attach it to the skirt.
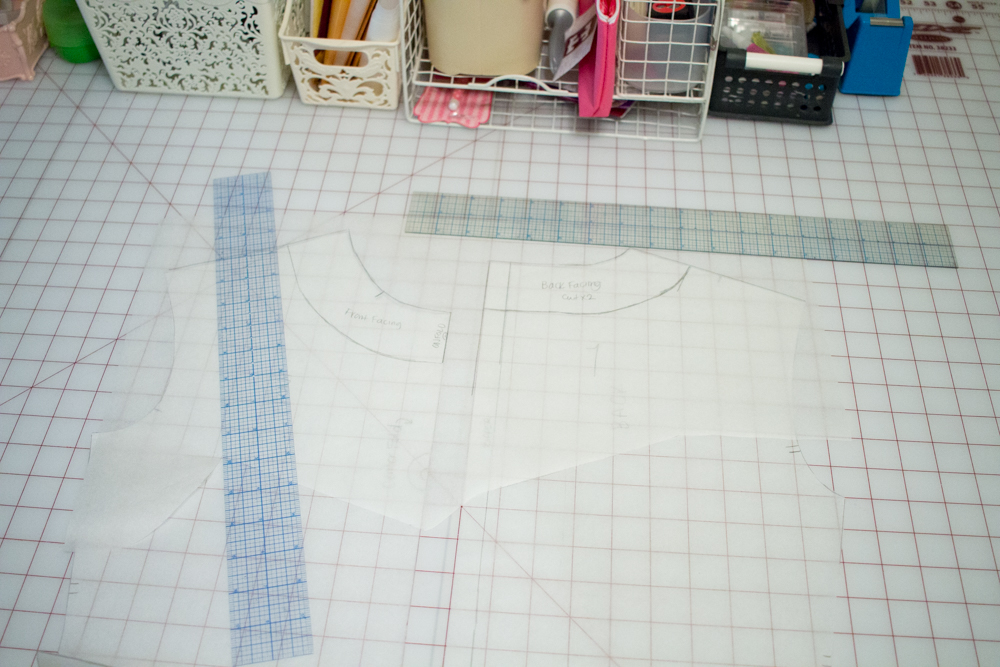
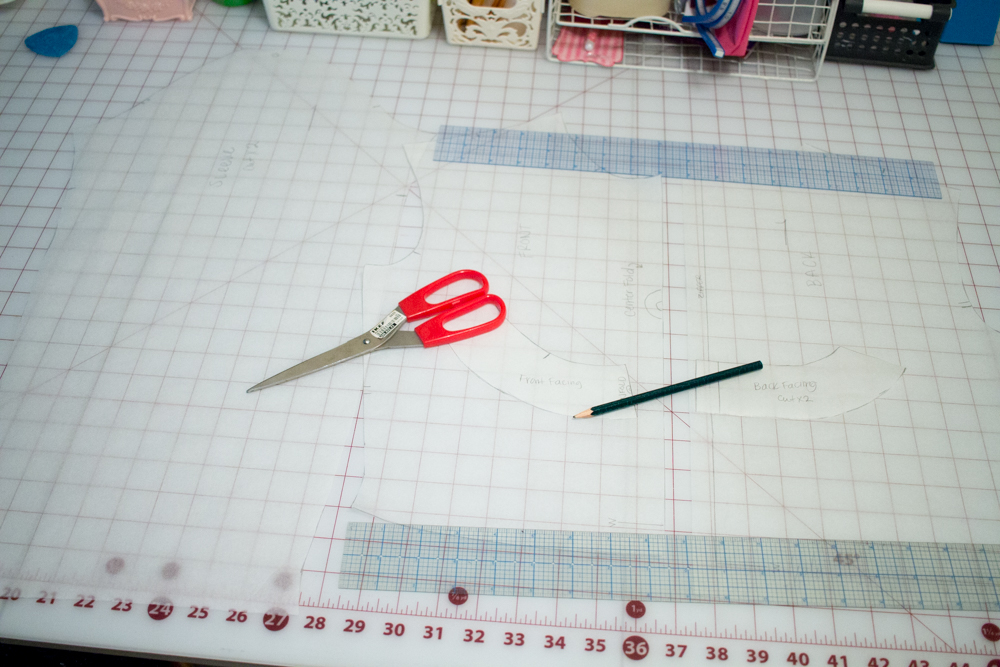
I need to create facing for the neck. Trace out the neckline of your shirt and add about 2 inches for facing. This will insure a nice finish since the shirt will not have a collar.
I also trace out the sleeve, even though I’m not making modifications to it. I like to do this since I keep my finished costume patterns for potential future use, and may not remember in a couple years what pattern I modified for this costume.
After the modifications are done, I transfer the pattern pieces to muslin. The next step is making a mock-up. This is a critical step a lot of first time cosplayers skip. Making a mockup on cheap fabric or muslin allows you to work out any issues your pattern might have before using your (often expensive) final fabric. This step is extra work, but it yields better results and lessens the possibility of heartache.
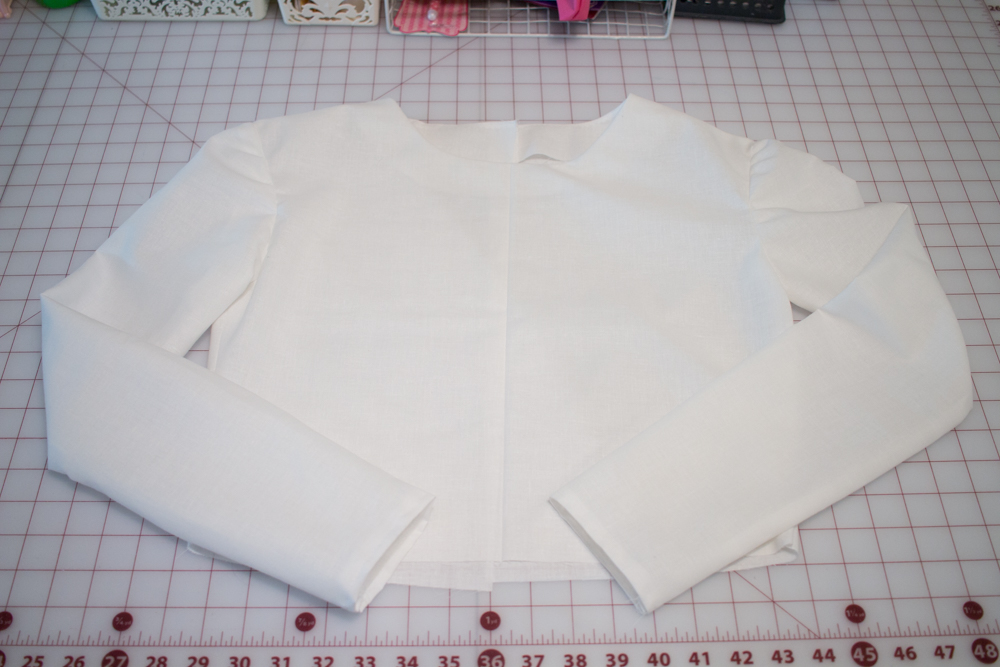
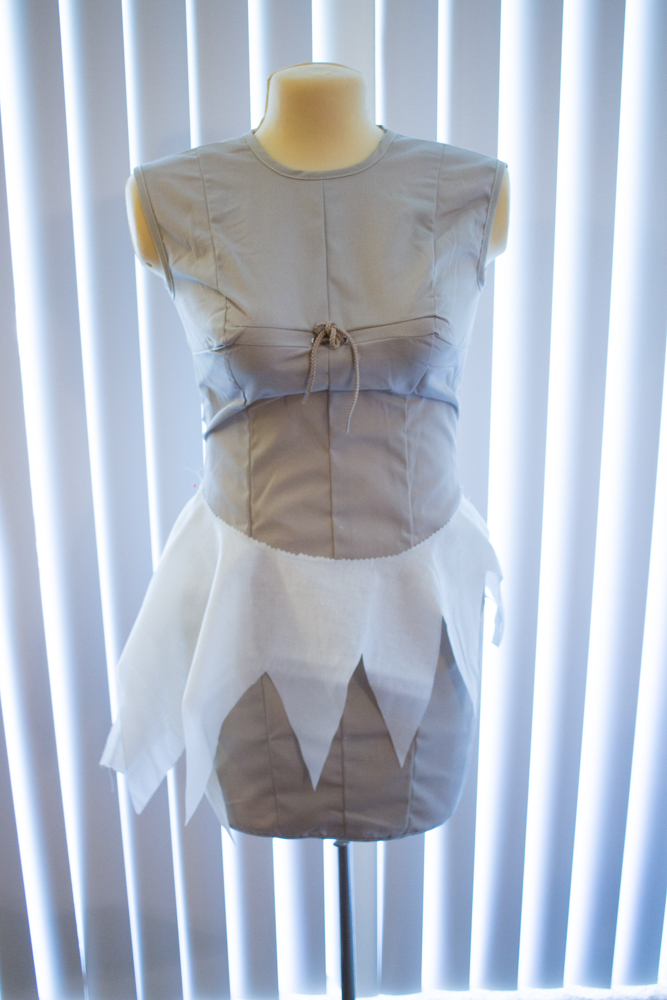
This is the mockup once cut out and sewn together. I’m fine with the results so I am confident in moving on to using my final fabric without needing to modify the pattern further.
For the cape, I redraft a simple pattern I’ve used for years. Since I am trying to get this completed in a reasonable amount of time, I’m not modifying an existing pattern for this part, but you can find cape patterns in sewing stores easily.
When constructed in muslin, the cape looks like this. The final version will be a bit different since it will involve lining, applique, and trim, but the basic shape is all I am concerned with at this point. The pattern works so I’m happy not making any adjustments to it and can move on.
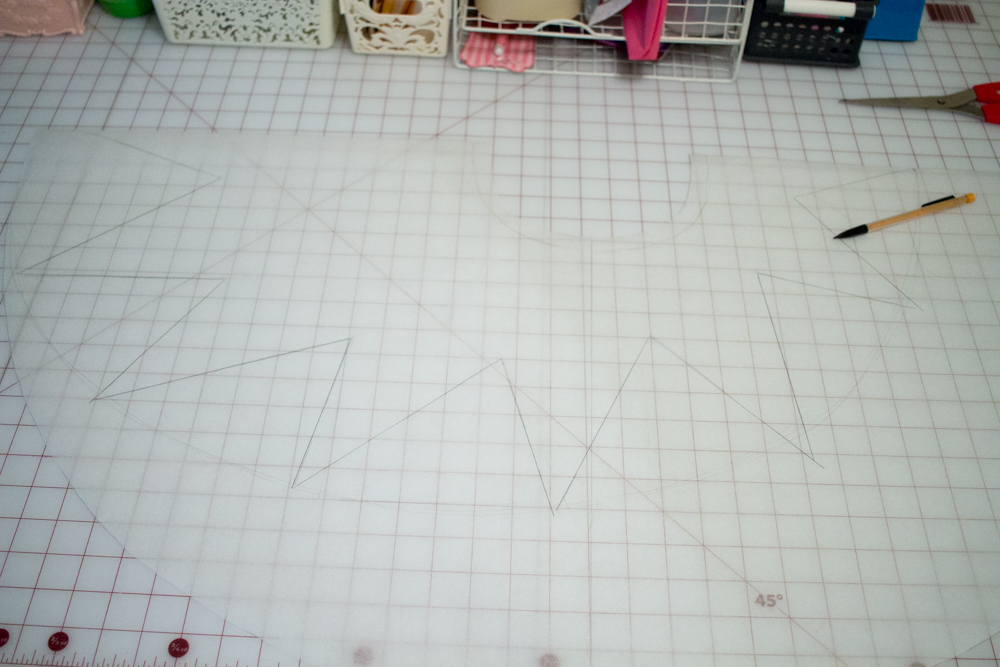
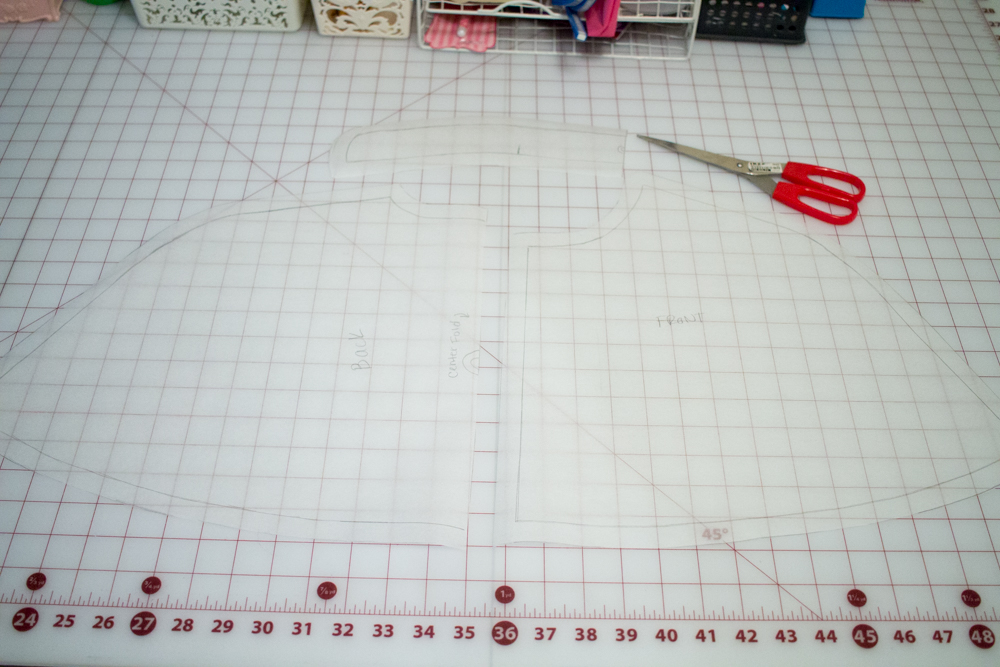
The costume has a panel over the skirt that involves some creative patterning. This is a step that you could use the draping method to create, but I’ve opted to try drafting it out instead. I drew out a circle skirt pattern and used my ruler to create a zig zag pattern.
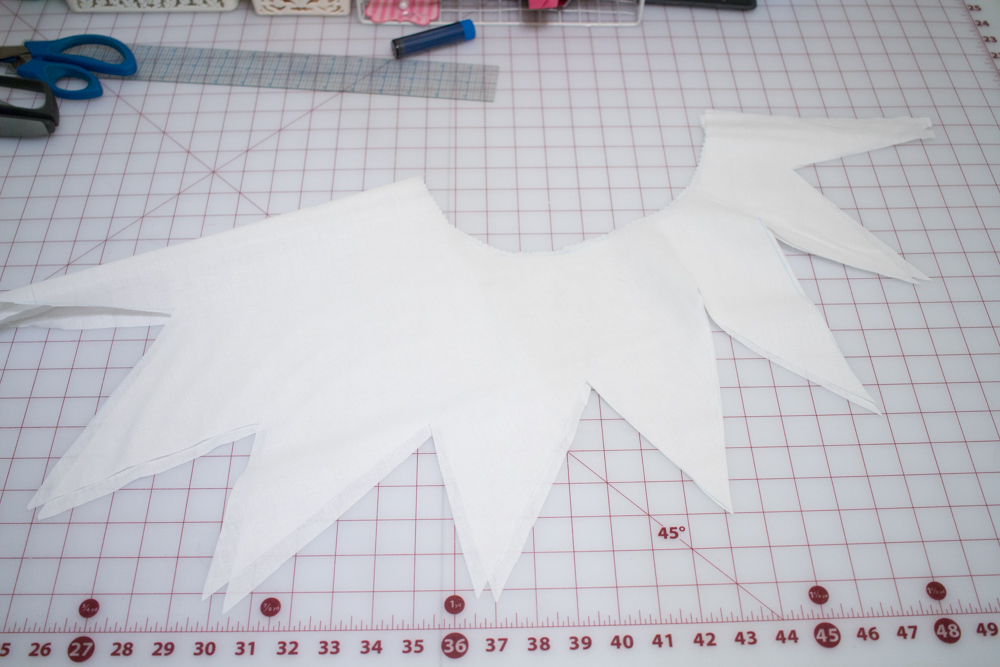
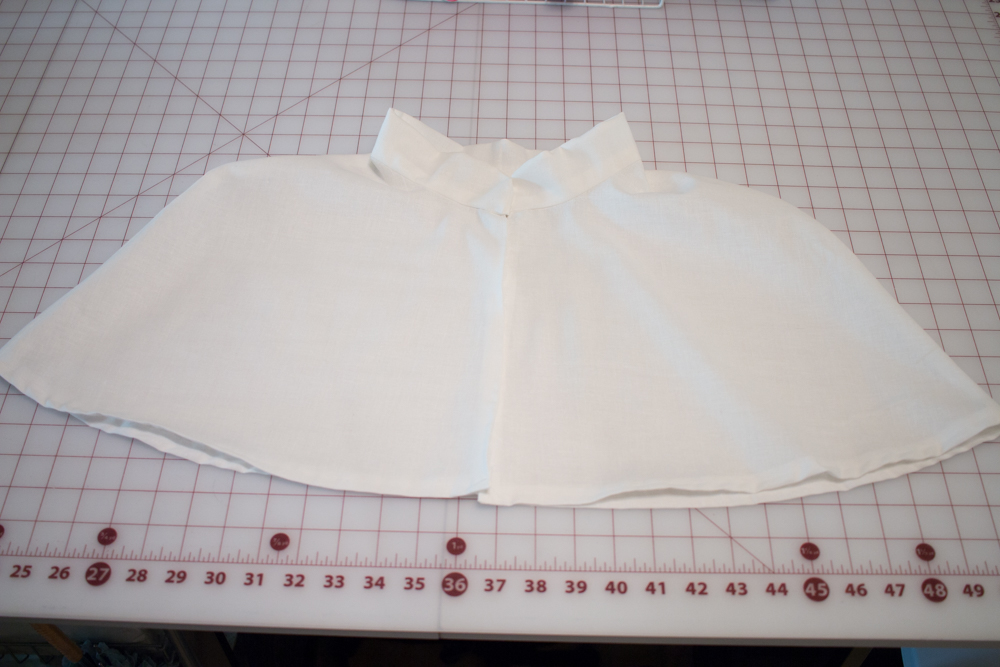
I hastily make a mockup of the pattern so I can put in on my dressform to see if I’m headed in the right direction with this.
Once made out of a thicker material and worn with a petticoat it will have the effect I am looking for.
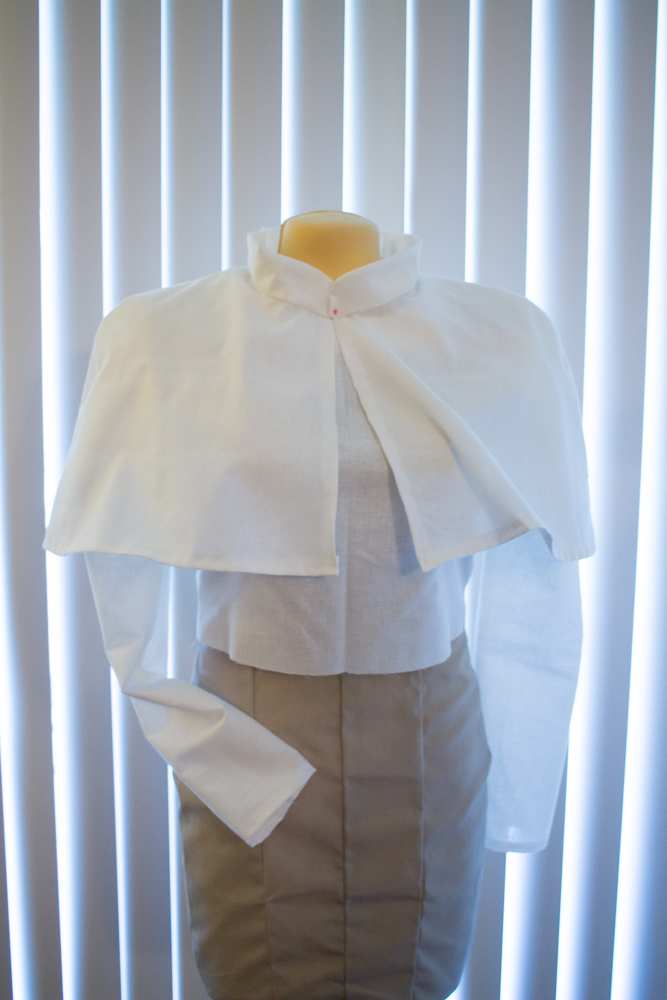
The top half of the dress and cape also pass my test fitting on my dressform, so I’m ready to go fabric hunting! I didn’t opt to mock up the whole dress because I’ve made a number of similar dresses, but if you are new to costuming I would recommend creating the whole mockup.
Next up is working on some of the armor patterning! You can see my progress as I work on this cosplay here and on twitch in the following weeks~
TrackBack URL
http://blog.warpportal.com/maridah_blog/wp-trackback.php?p=398