

Work on my Ragnarok Online Swordsman costume continues! I’ve started to construct some of the armor pieces of the costume out of craft foam and Worbla. New to armor making? This method is very easy!
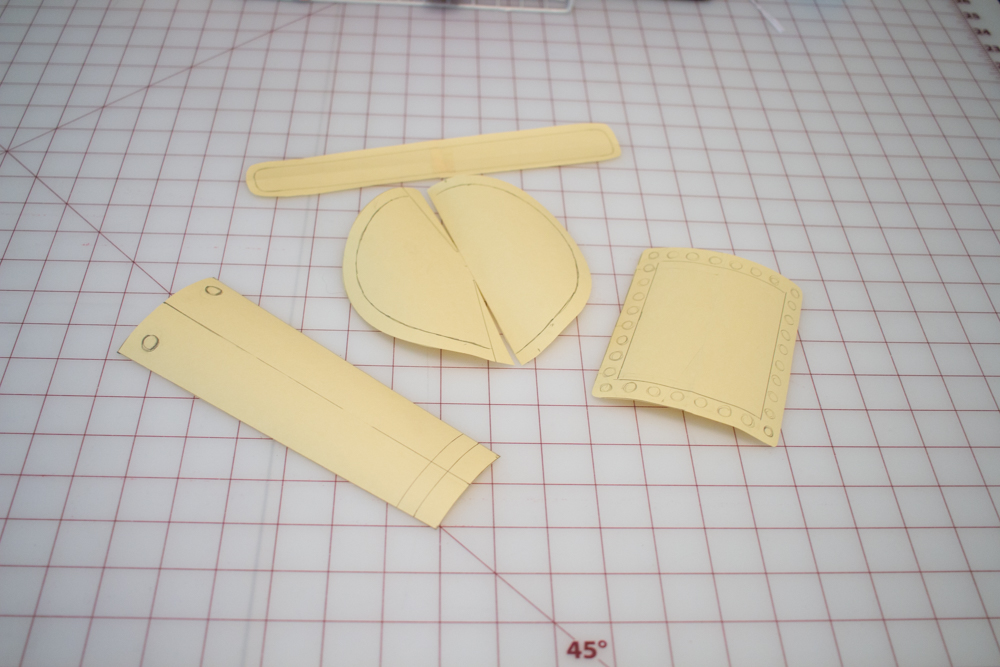
I’ve started off by making basic paper patterns for some of the armor on the costume during earlier livestreams on twitch. These pieces are the foundation of the patterns, and I’ll be using tracing paper to add more elaborate designs to them.
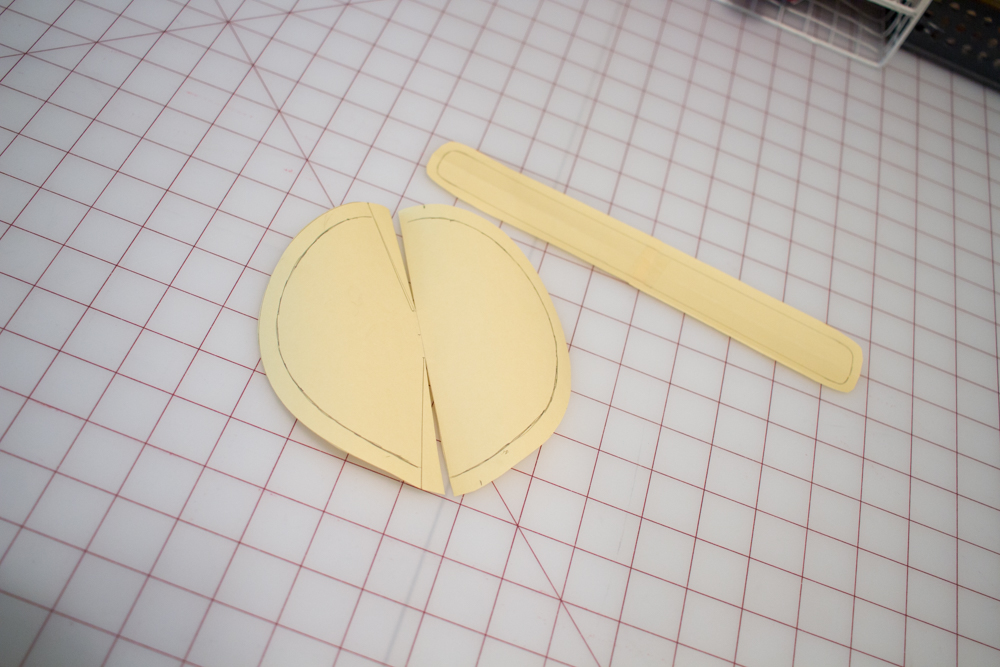
The elbow armor is a very basic shape. I’ve created darts in the pattern, but I’ll add more compound curve to the actual armor with heat.
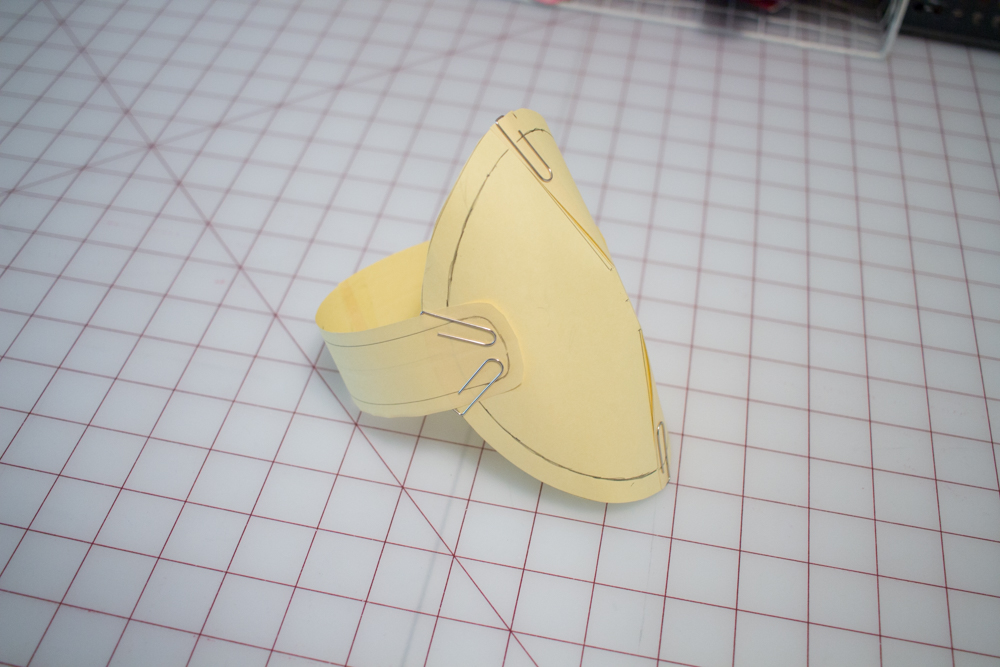
Using paper clips, I test the shape of the pattern.
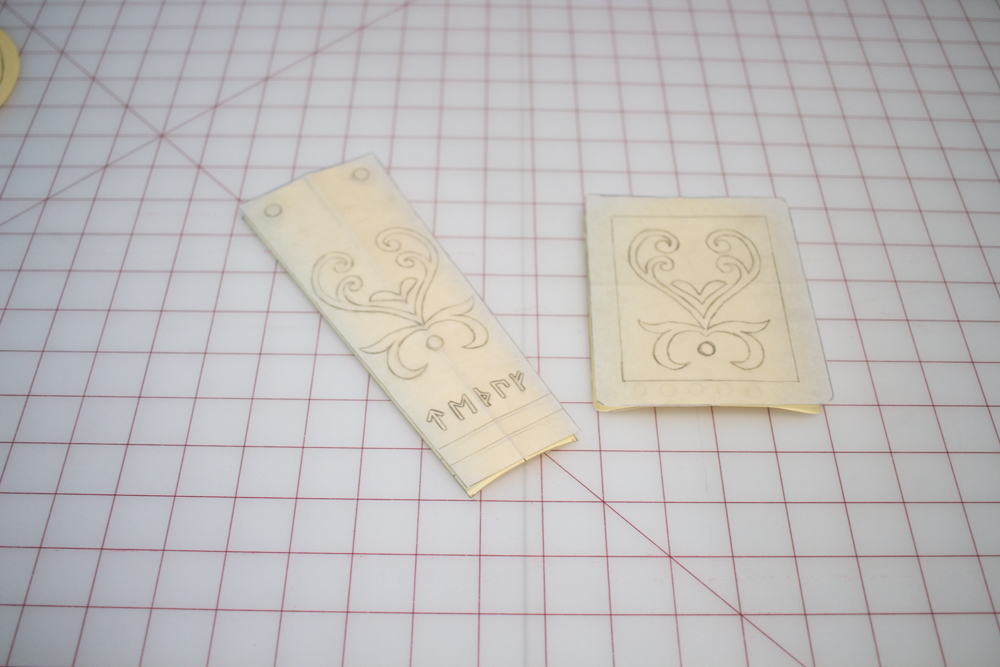
Using tracing paper, I added the designs I will inset and raise on the armor.
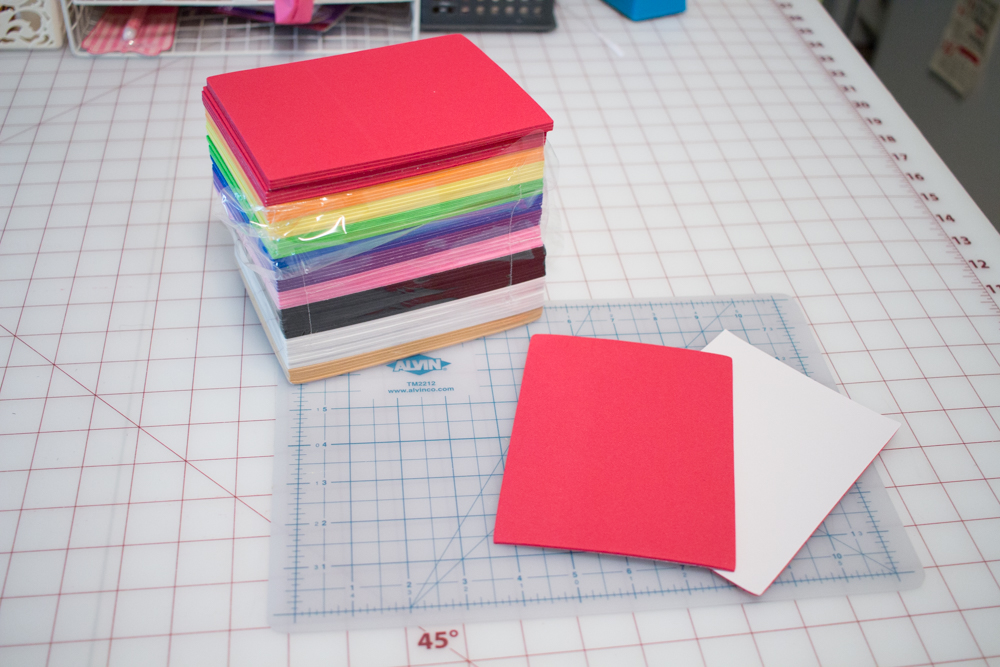
To create an embossed effect, I am using sticky backed craft foam to create layers.
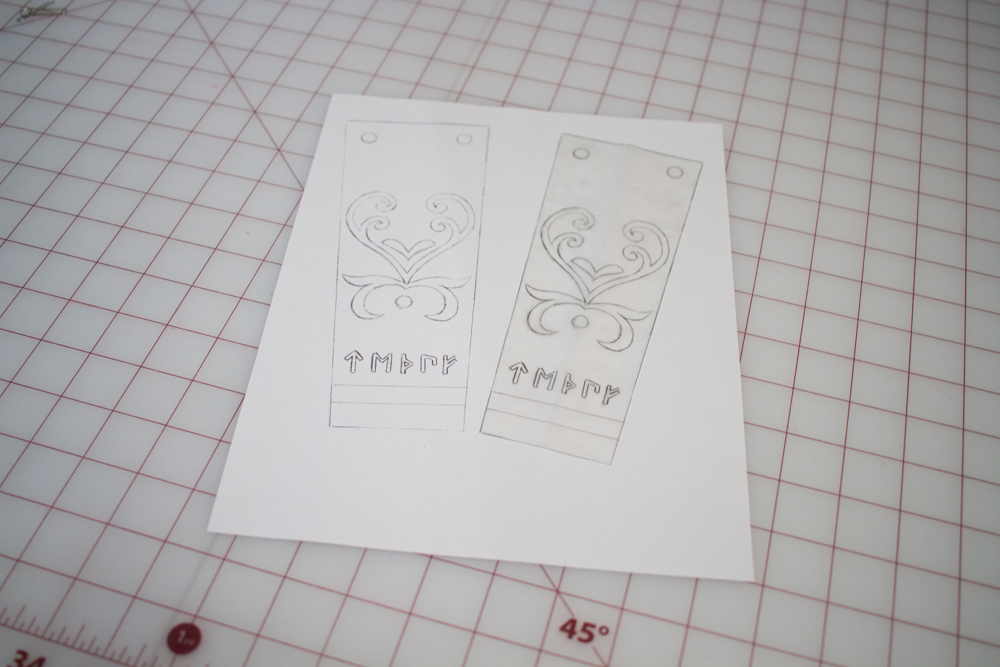
I make a photocopy of the tracing paper designs to cut up and use as stencils.
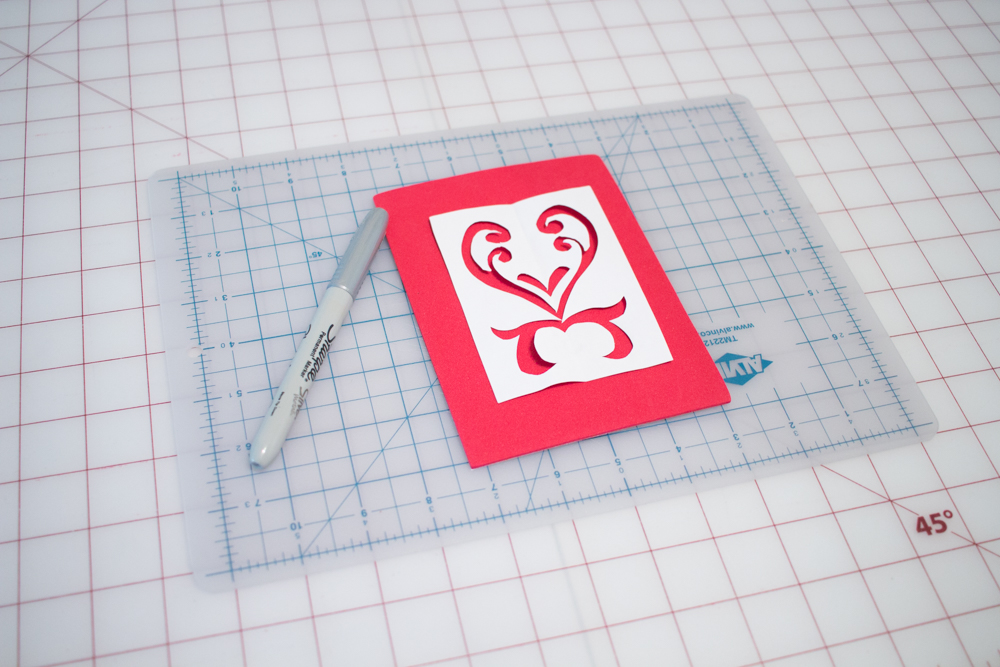
I create a stencil out of the floral design for the upper arm armor. I’ll be cutting out the areas I’m marking with a permanent marker.
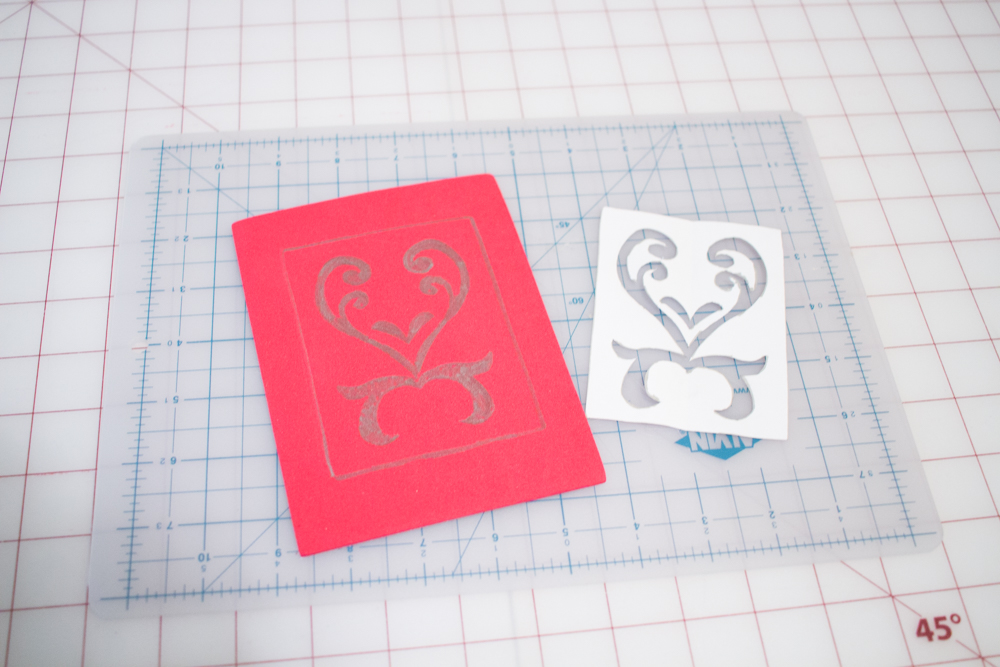
All of the silver areas are going to be cut away.
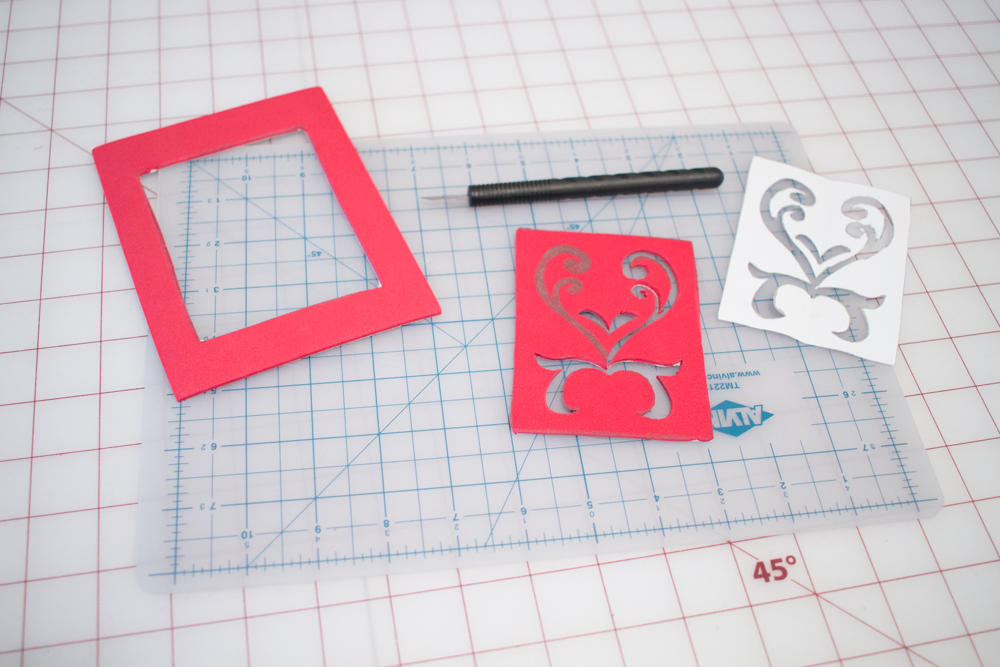
With a hobby knife, I remove the craft foam from the marked areas and cut the shape out.
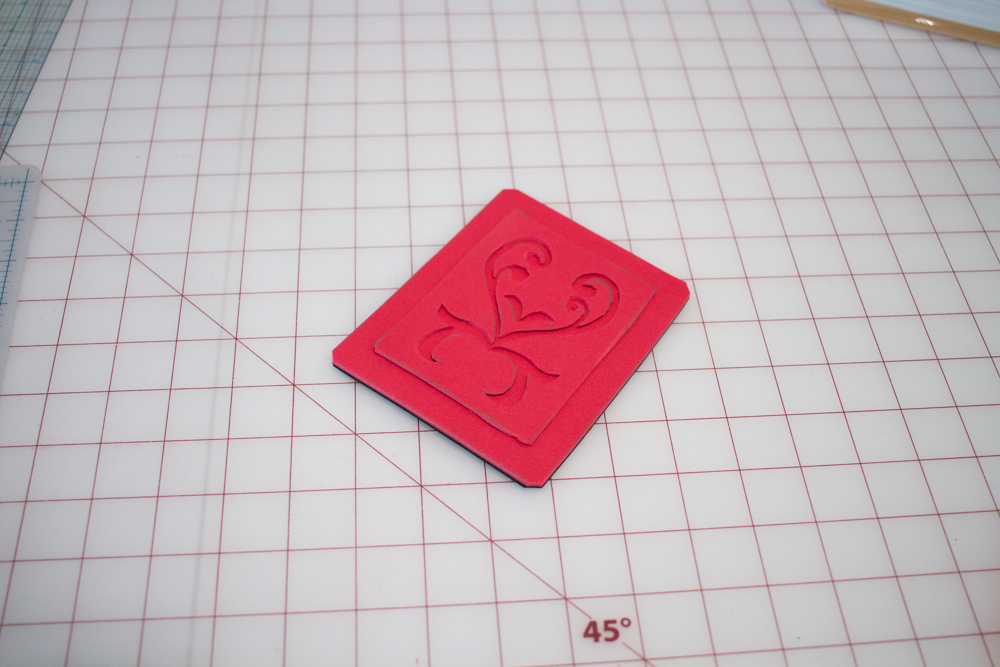
I removed the sticker backing from the cut piece of foam and stick it to several layers of craft foam I’ve sandwiched together to create thickness.
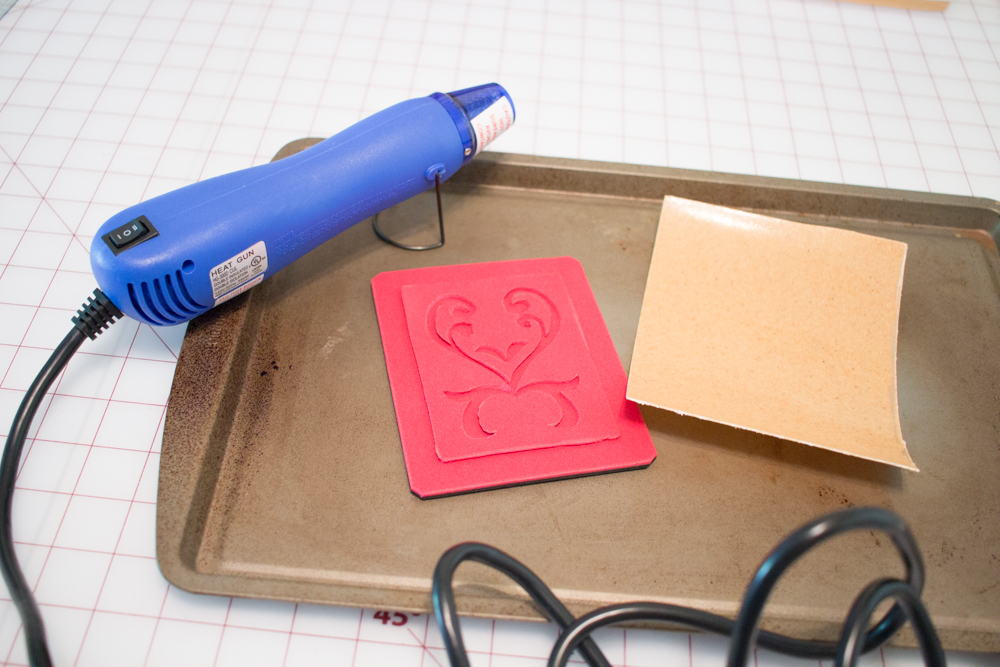
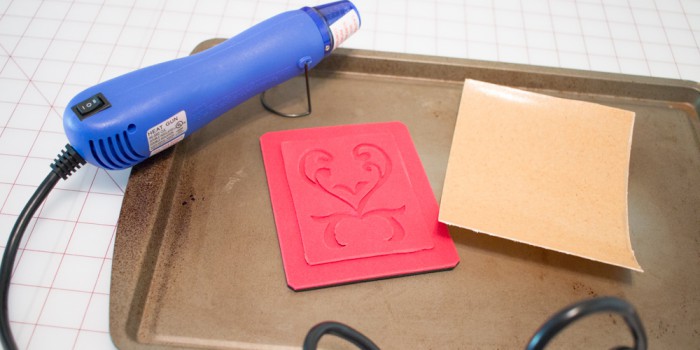
For working with Worbla, you’ll need a heat gun. I like using one that is designed for crafting because it is easier to use with projects like this that have detail work.
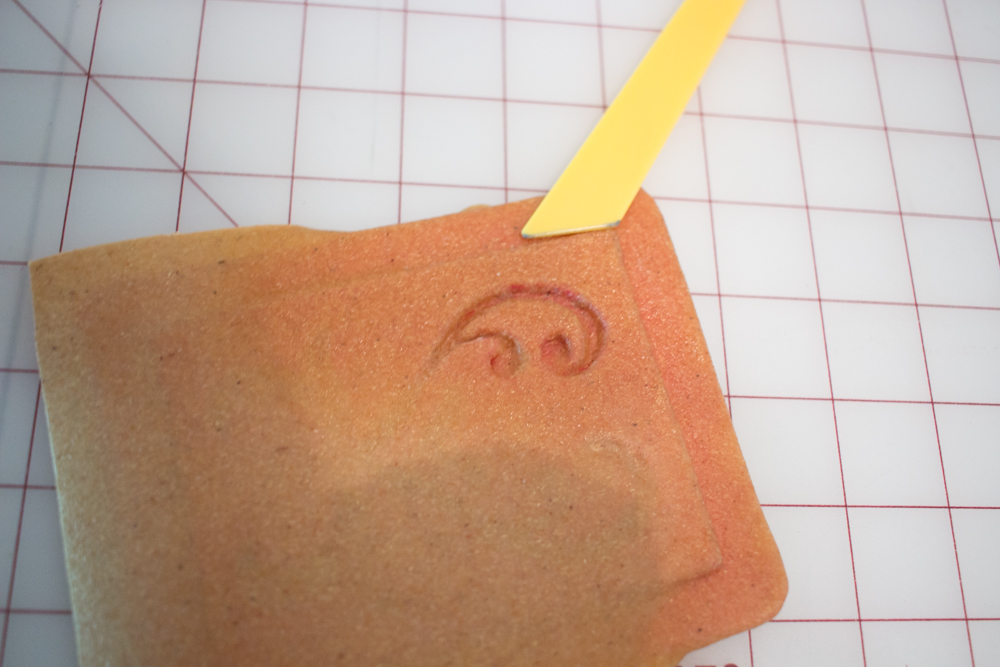
After heating the Worbla. I slowly press the material into the grooves in the craft foam.
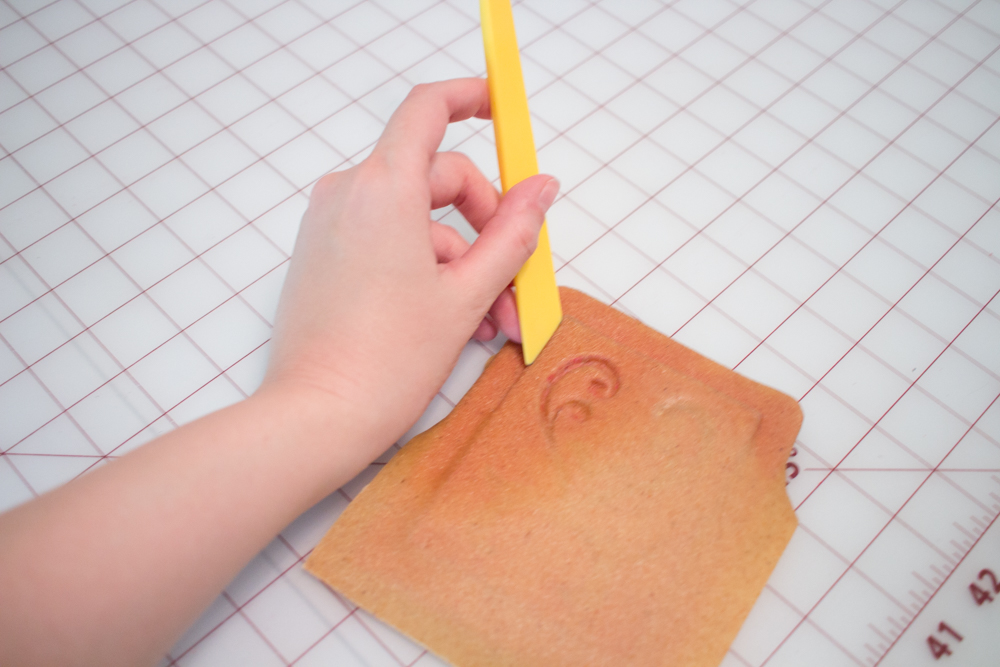
I like to use a clay sculpting tool because it has a flat side for defining edges and a curved end for pressing the Worbla into the groves of the design.
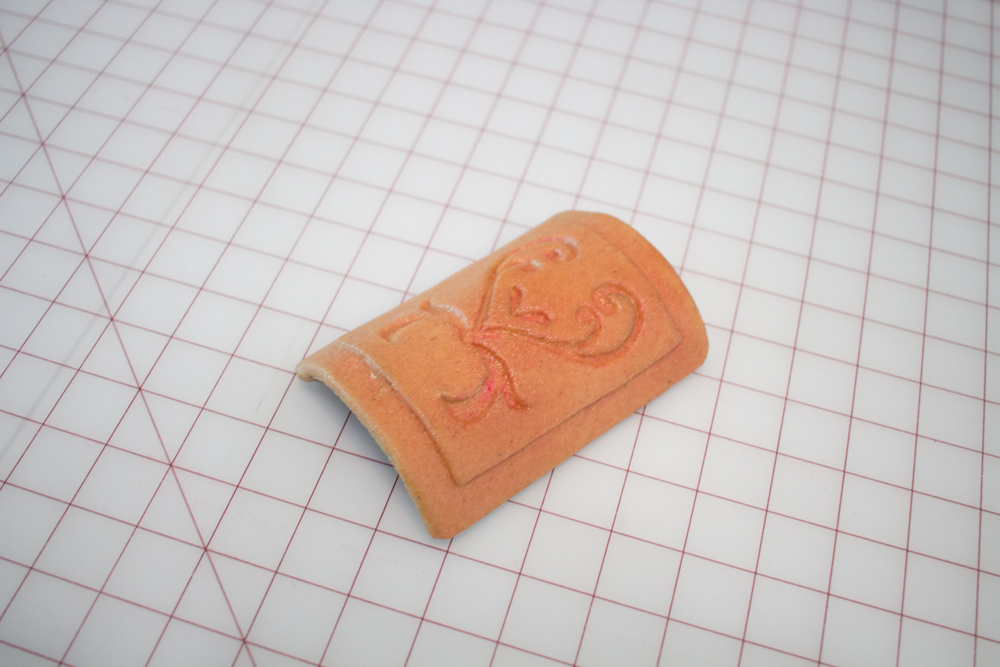
Here’s the end result after 10 minutes or so of heating and working the worbla into the design. I’ve shaped the piece to curve around my upper arm. I’ll repeat this process with each part of the armor. The next step is to surface the material and paint it!
TrackBack URL
http://blog.warpportal.com/maridah_blog/wp-trackback.php?p=421